A lot of metalwork and rebuilding went into this amplifier and its partner, turning them both into fully functional power amplifiers again.
Originally built in August 1978.
Now fully restored (excluding the original front panels, for aesthetic reasons). Ready for work again.

-+-+-+-+-+-+-+-+

I do like a challenge

Drilled out the old pop rivets

Poor old leaky capacitors, past their best by date!
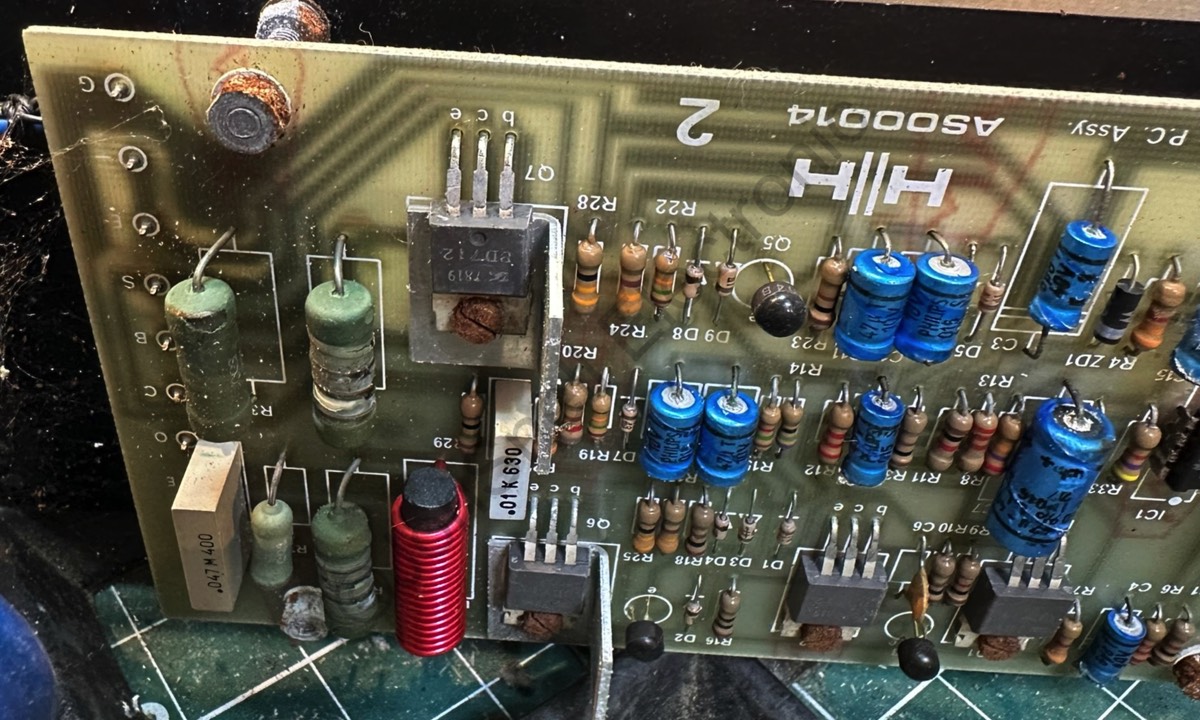
Faulty driver board. One of two.

Refurbished driver board. One of two
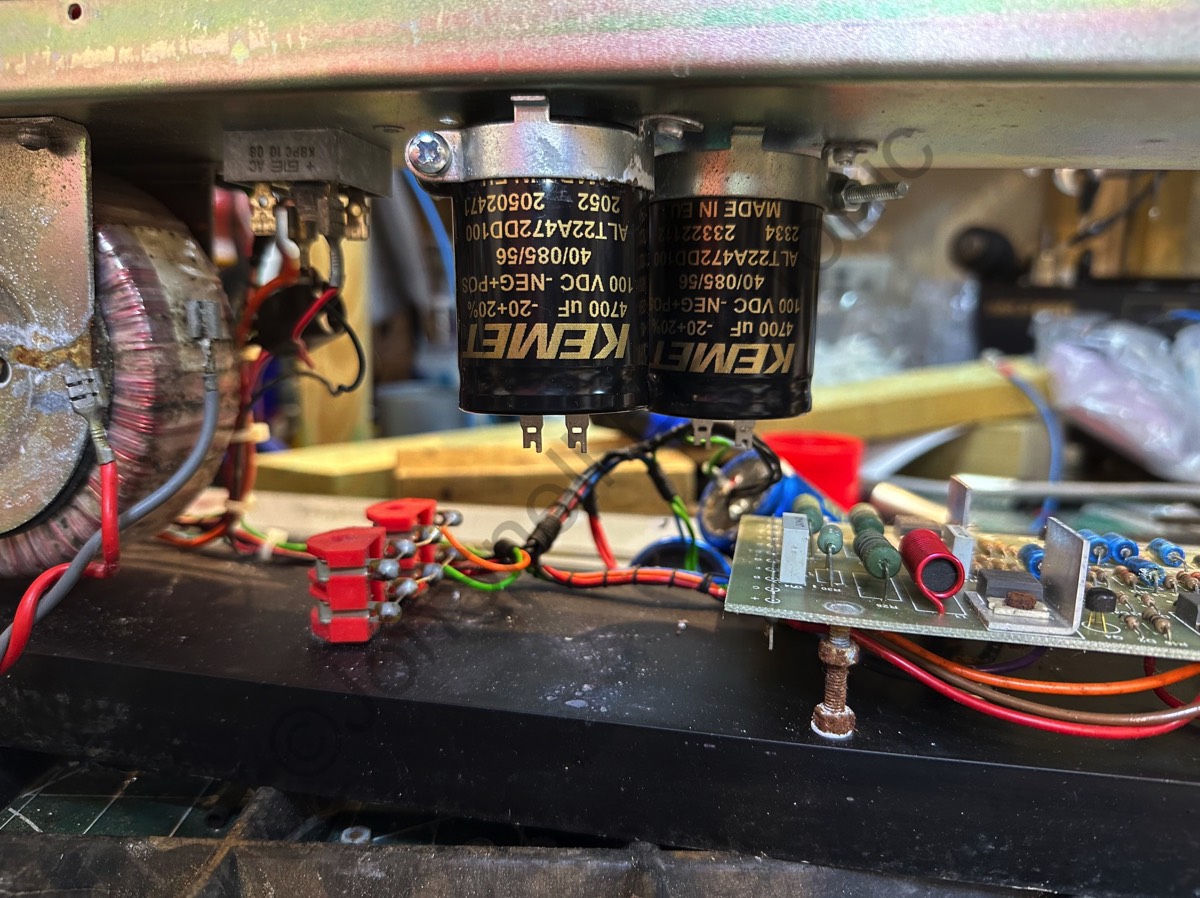
New smoothing capacitors, replacing the 1976 leaky ones.
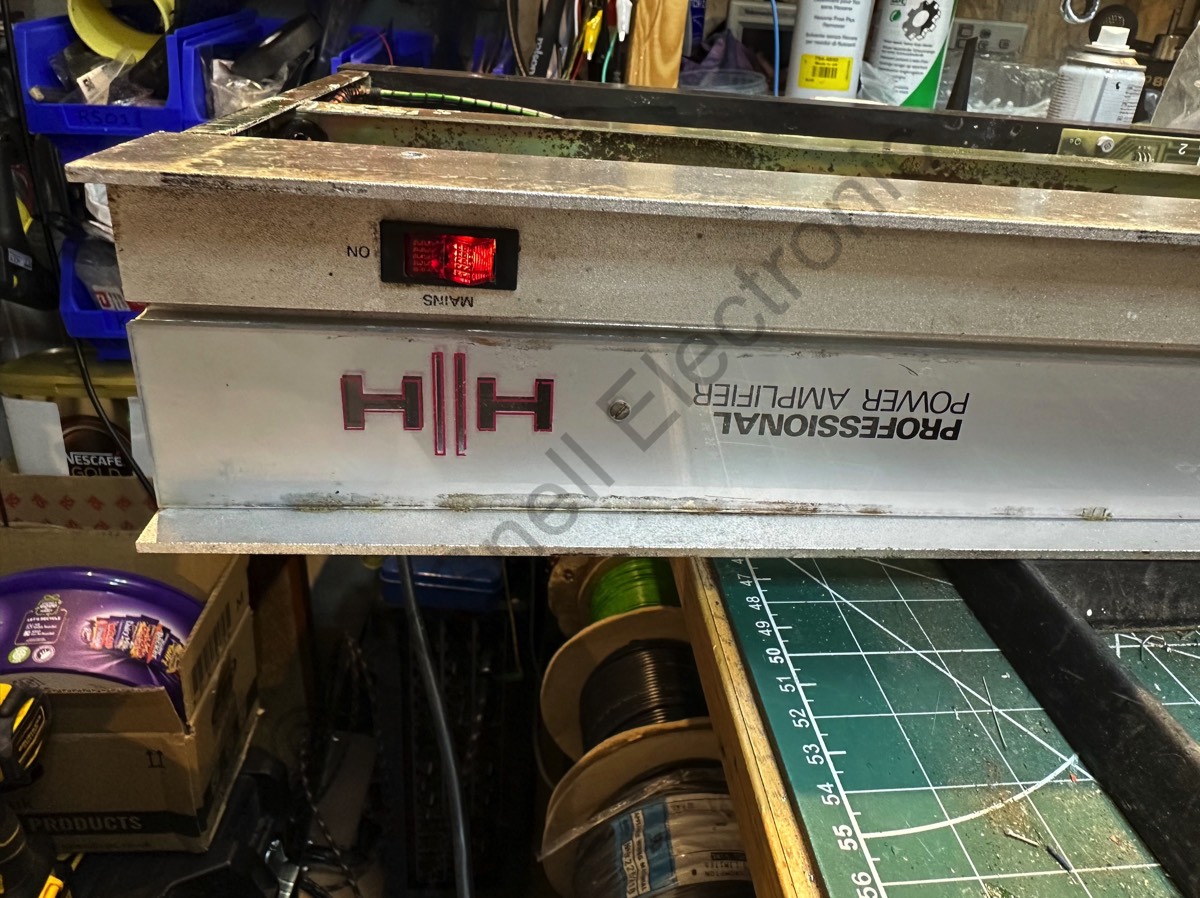
Amplifier one of two, on test.

New capacitors wired, refurbished board, front chassis bolted on and ready to test.
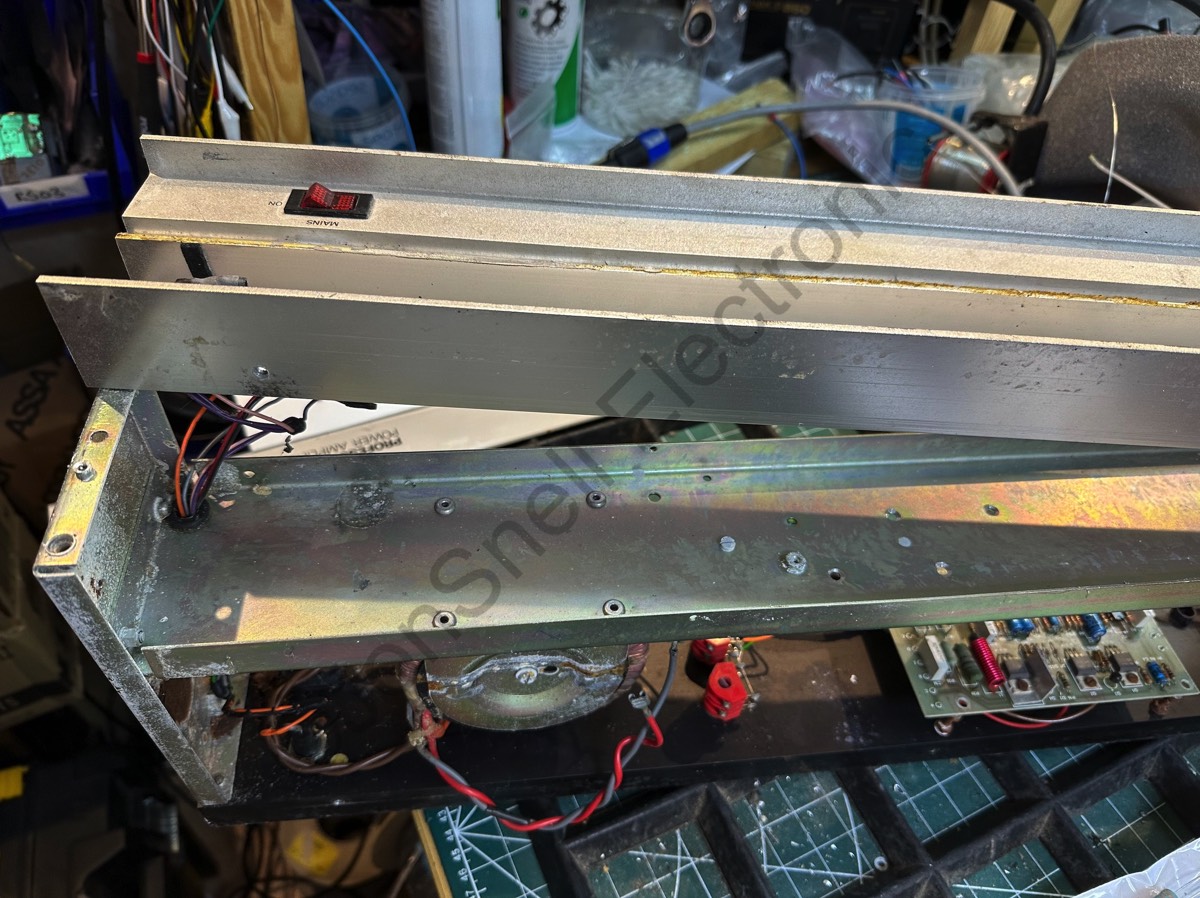
Chassis apart ready to fit new capacitors.
The chassis must be separated as the fixings are otherwise hidden.
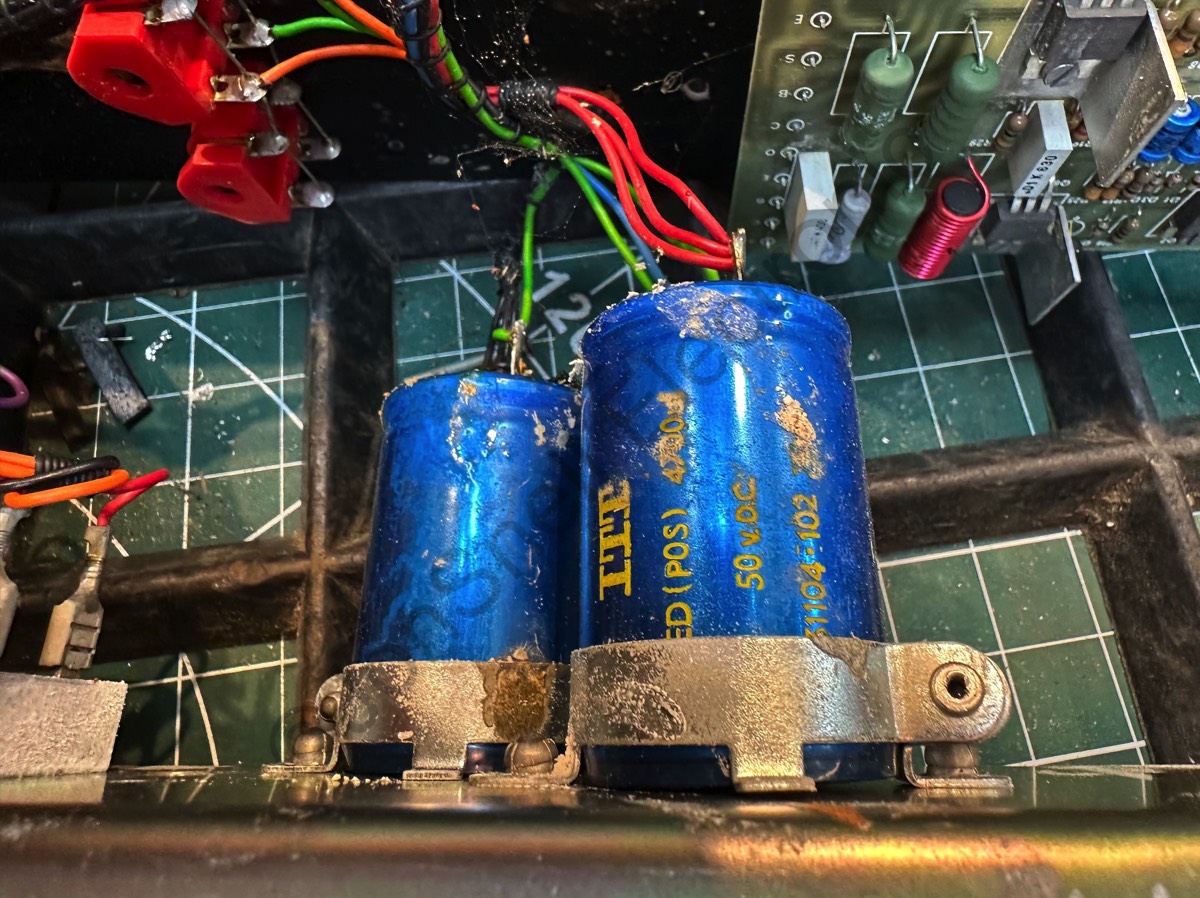
Difficult to find slot in replacements now as newer components are physically smaller in size.
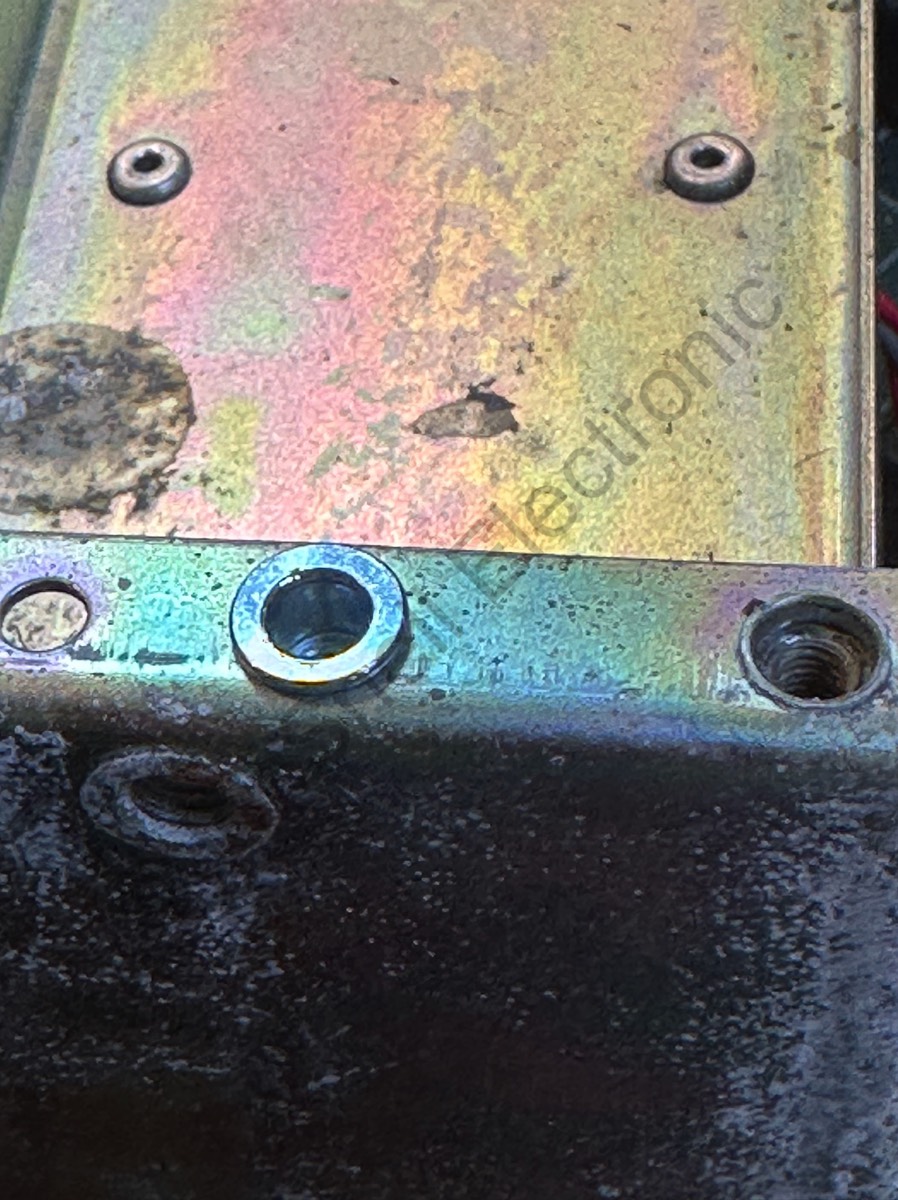
RivNut in place, replacing the pop rivet that affords poor service for the engineer but less costly than RivNuts.
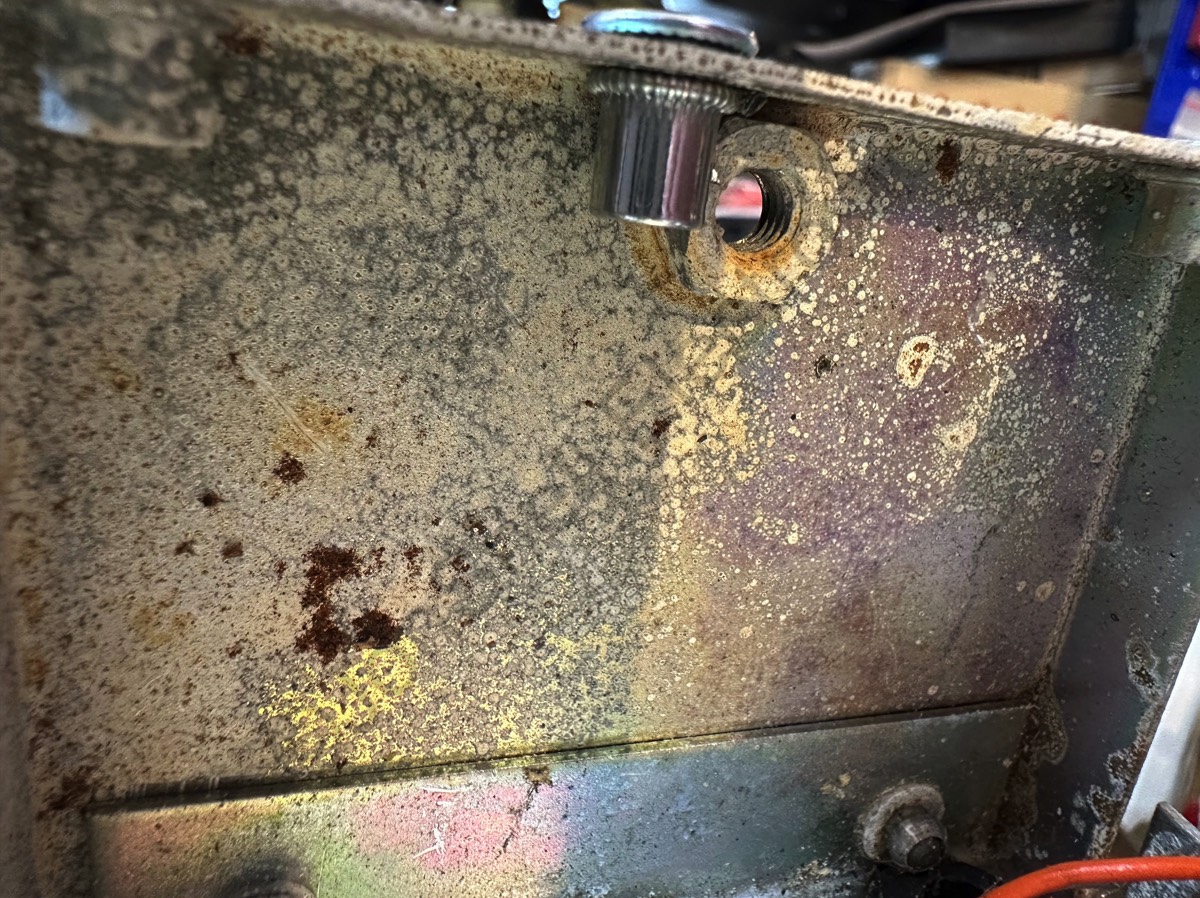
Underside view of RivNut fitted with the compression machine.
We don't just repair valve equipment we can be tempted, if not too modern, as they are all worth fixing.
